
Steps to Author Image Component
Step 1: This component should be authored inside a Background Container component. Click on "Drag components here," and click on + icon to add Background Container component on page.

Image Component





Steps to Author Image Component
Step 1: This component should be authored inside a Background Container component. Click on "Drag components here," and click on + icon to add Background Container component on page.

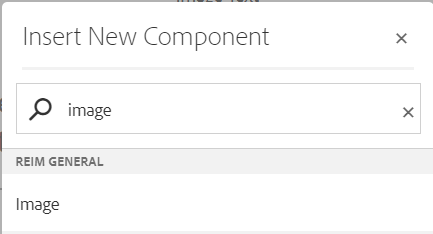
Step 2: Click on newly added "Drag components here" section and click on + icon. Search and select image component from dropdown list and then drag and drop it onto the desired location on the page.
Step 3: Click on the highlighted icon to configure the component.

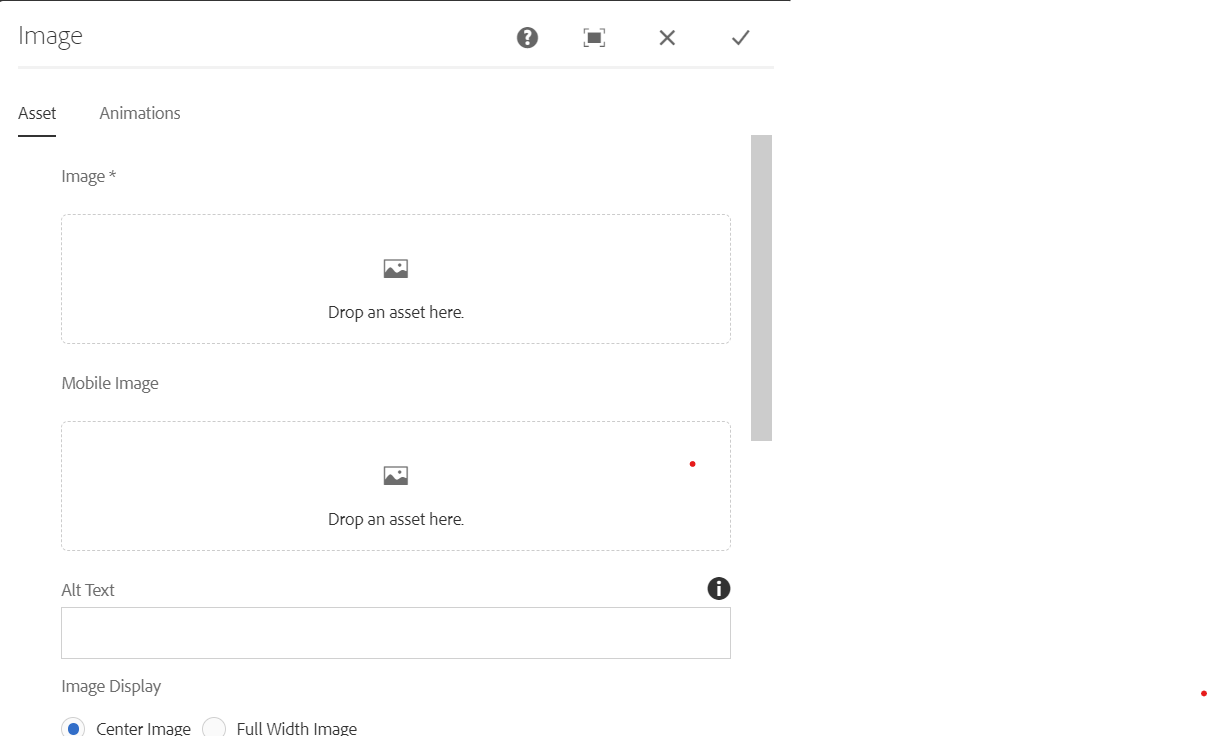
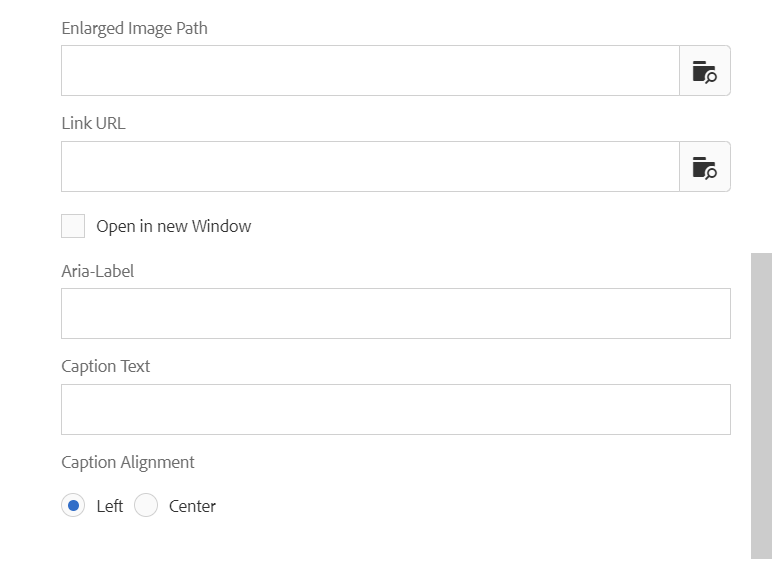
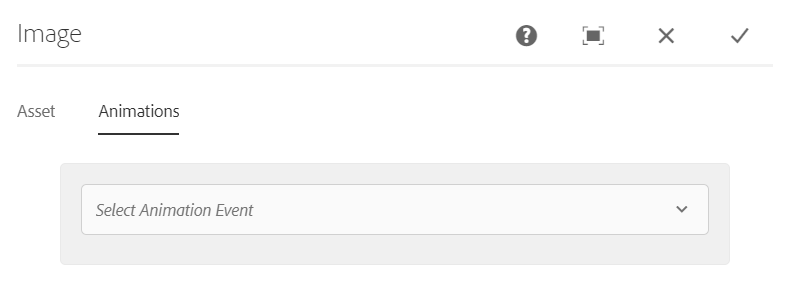
Step 4: Author the Fields in Asset and Animations tabs as shown below:
Authoring Fields
| Authoring Field name | Description |
| Asset tab | |
| Image | Image can be authored from dam that needs to be displayed for Desktop view. |
| Mobile Image | Image can be authored from dam that needs to be displayed for Mobile view. If not authored desktop image will be displayed. |
| Image Display | Choose the type of image to be displayed: Center Image or Full Width Image. |
| Enlarged Image path | Image authored from dam will display as popup. |
| Link URL | On click of image will navigate to authored path. |
| Open in new window | If enabled, page will load in new window. |
| Aria-Label | Aria label for image. |
| Caption Text | Caption text for image. |
| Caption Alignment | This feature will be enabled in future. |
| Animations Tab | |
| Select Animation Event | This feature will be enabled in future. |
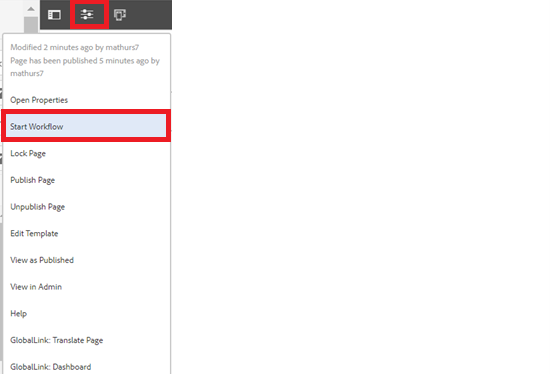
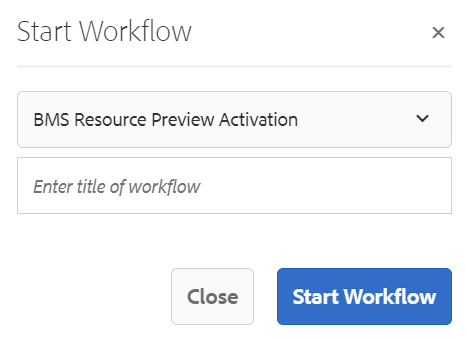
Step 5: After authoring all the fields, start workflow as shown below.
Desktop View:
Image Caption
