
Step 1: Navigate to the page where you want to add the component. Click on "Drag components here" and click on + to add the component on page.
Conclusion Component

Conclusion Component





Step 1: Navigate to the page where you want to add the component. Click on "Drag components here" and click on + to add the component on page.

Step 2: Search and select conclusion component from dropdown list and then drag and drop it onto the desired location on the page.

Step 3: Once the component is added, you can configure it by selecting configure icon as showcased in below image.

Step 4: In the component configuration dialog, you can author the Text tab and Media tab.
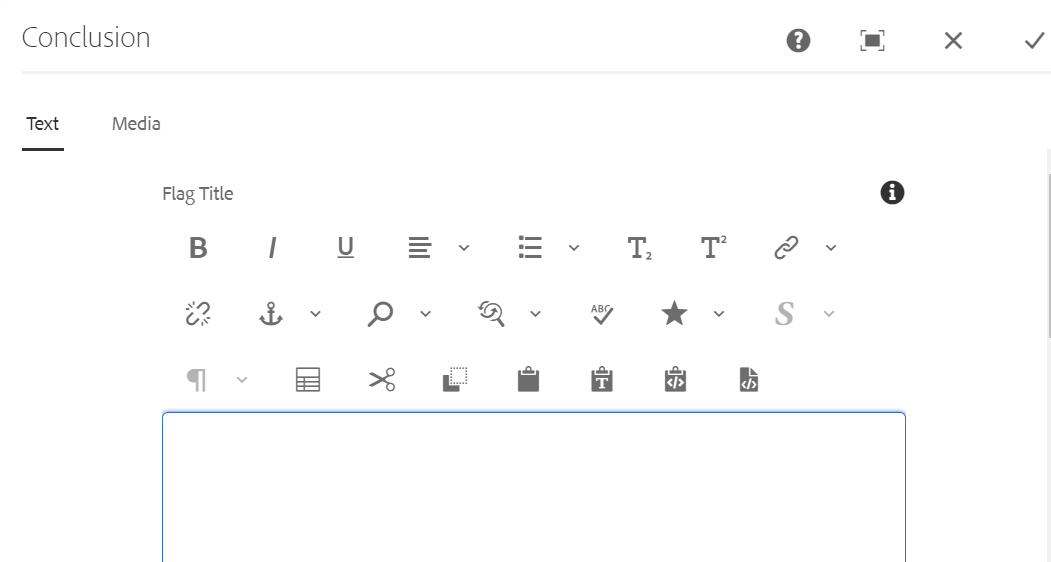
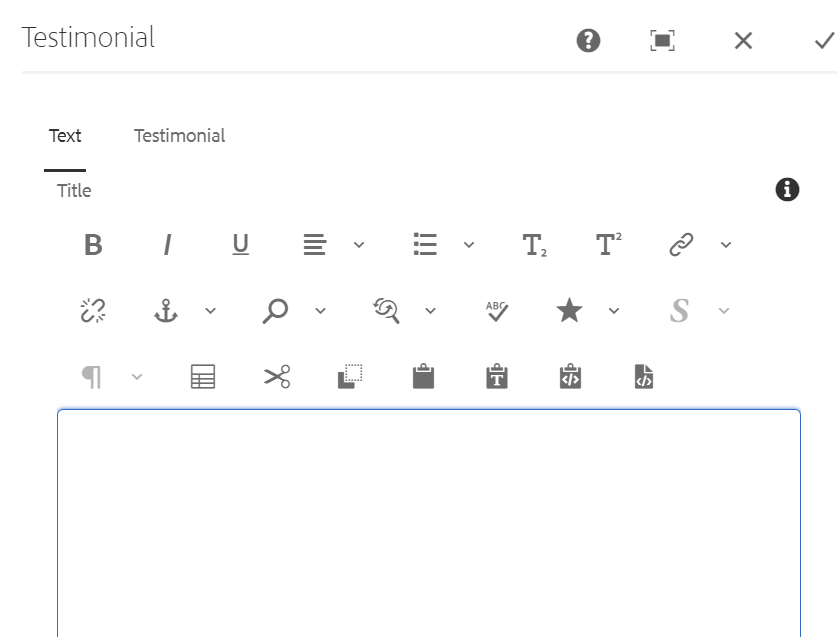
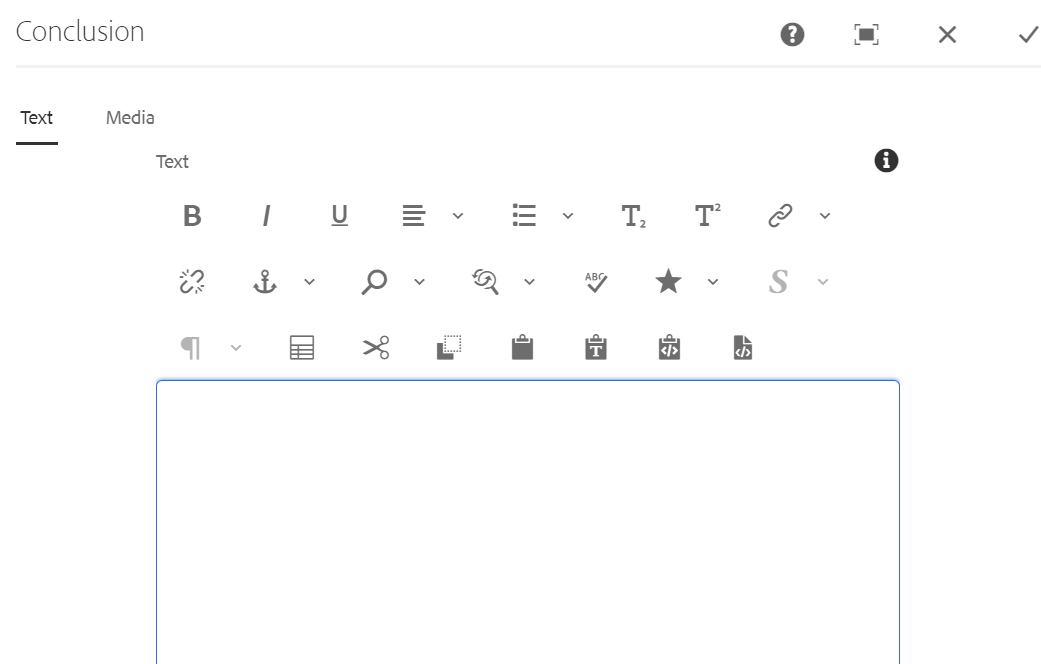

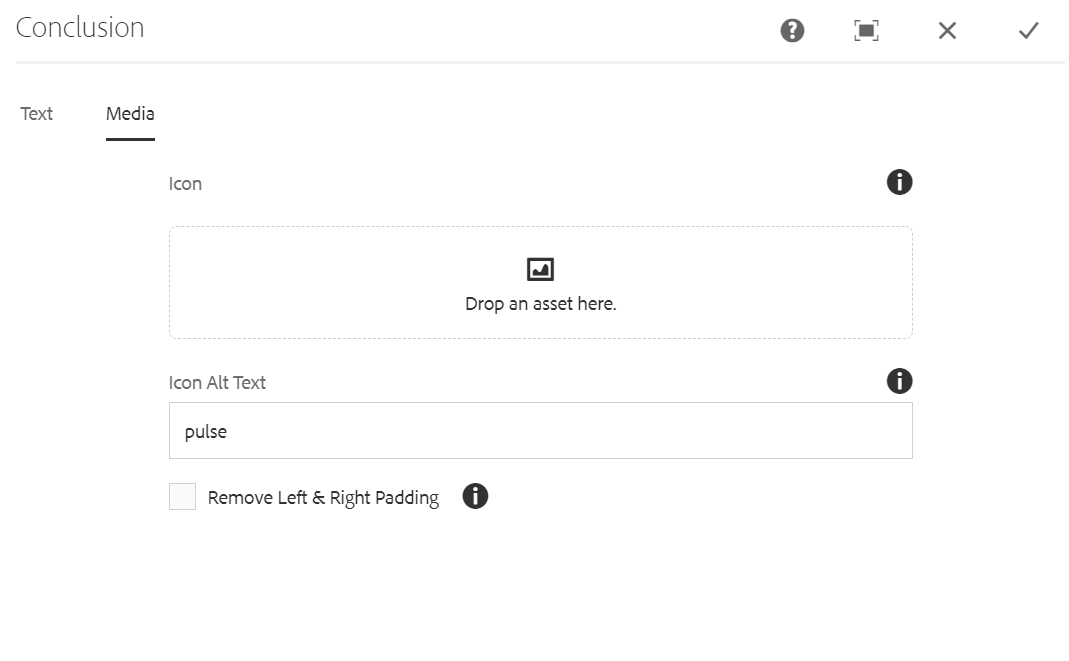
Authoring Fields
| Field name | Description |
| Text Tab | |
| Flag Title | It will be Flag Title authoring field to display the title.
|
| Title | It will be title authoring field to display the title.
|
| Text | It will be text authoring field to display the text.
|
| Style | Style will be available as 1. Primary 2. Secondary This is a mandatory selection; default selection will be Primary. |
| Media Tab | |
| Icon | This is a path authoring field to author icon image from the dam. |
| Icon Alt text | This is text authoring field to author the alternate text for the icon. |
| Remove Left&Right Padding | This is a checkbox field if enabled padding will be removed. |
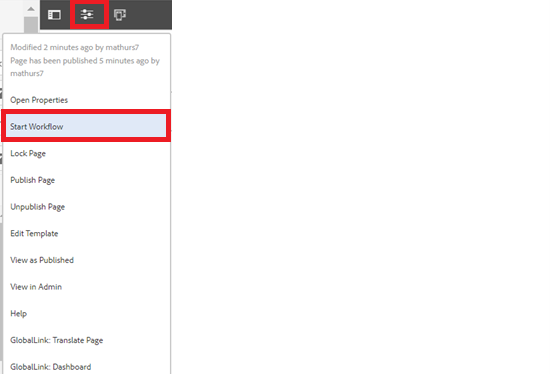
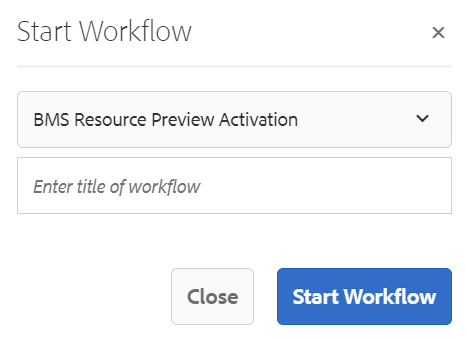
Step 5: After authoring all the fields, start workflow as shown below.
Desktop View:
Style as Primary.
Welcome to Pulse

Welcome to Pulse
Pulse is a new workforce engagement platform where you will receive important business information as well as updates about our company. You'll be able to customize your newsfeed, interact with colleagues, share feedback and immerse yourself in our patient-focused culture. You can do this on your PC or mobile phone.
Style as Secondary:
Welcome to Pulse
Welcome to Pulse
Pulse is a new workforce engagement platform where you will receive important business information as well as updates about our company. You'll be able to customize your newsfeed, interact with colleagues, share feedback and immerse yourself in our patient-focused culture. You can do this on your PC or mobile phone.
Mobile View:
