
Step 1: Navigate to the page where you want to add the component. Click on "Drag components here" and click on + to add the component on page.
Testimonial Component

Testimonial Component





Step 1: Navigate to the page where you want to add the component. Click on "Drag components here" and click on + to add the component on page.

Step 2: Search and select testimonial component from dropdown list and then drag and drop it onto the desired location on the page.

Step 3: Once the component is added, you can configure it by selecting configure icon as showcased in below image.

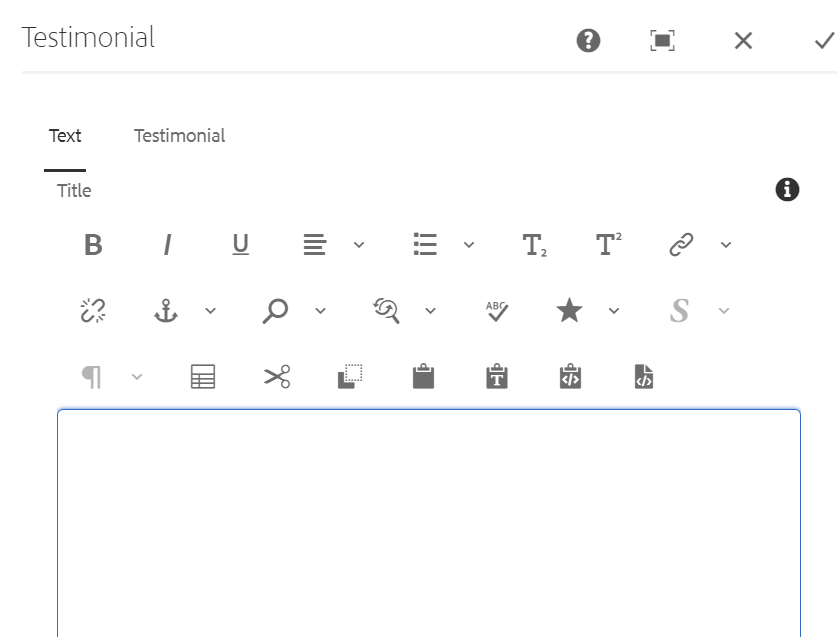
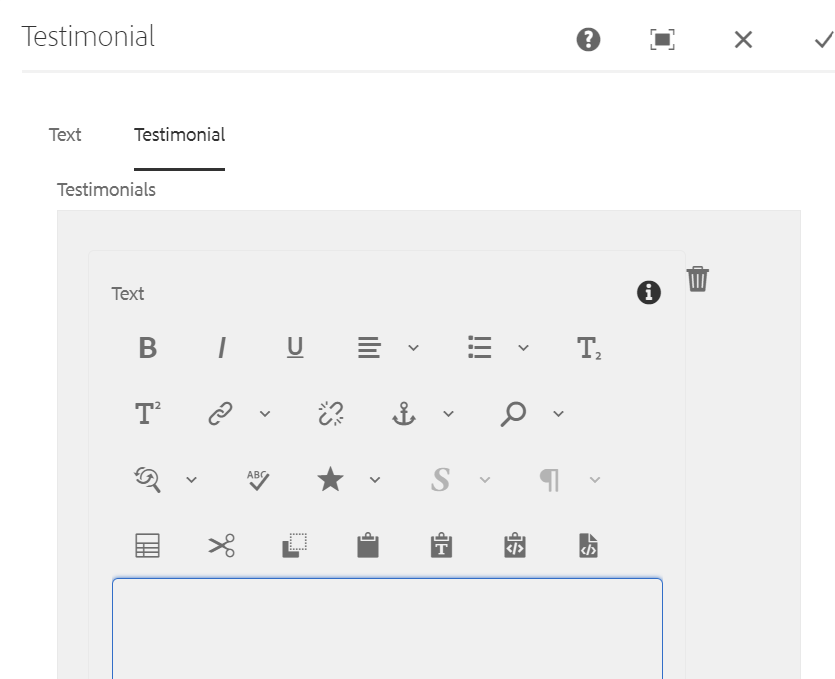
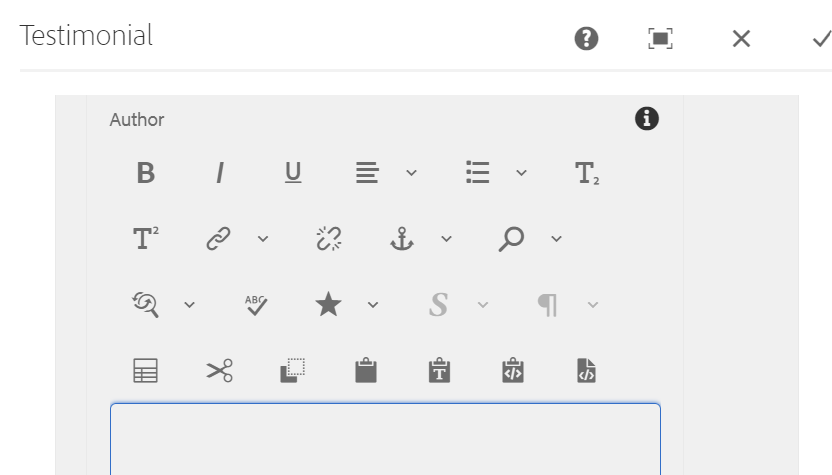
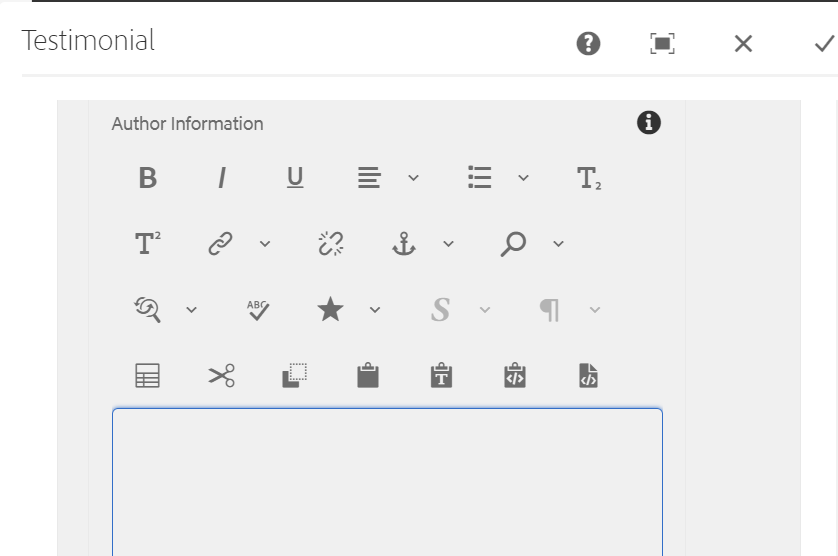
Step 4: In the component configuration dialog, you can author the Text tab and Testimonial tab.


Authoring Fields
| Field name | Description |
| Text Tab | |
| Title | It will be title authoring field to display the text.
|
| Subtitle | It will be subtitle authoring field to display the text.
|
| Testimonial Tab | |
| Text | It will be text authoring field to display the text.
|
| Author | It will be author name authoring field to display the text.
|
| Author Information | It will be author information authoring field to display the text.
|
| Author image | Image path can be authored from dam. |
| Author image alt text | This is text authoring field to author the alternative text for the image. |
Note: It is important to have the image uploaded in DAM for the quote icon to appear.
The image name should be testimonial.image.svg
image path : /content/dam/buildeasy/testimonial.image.svg

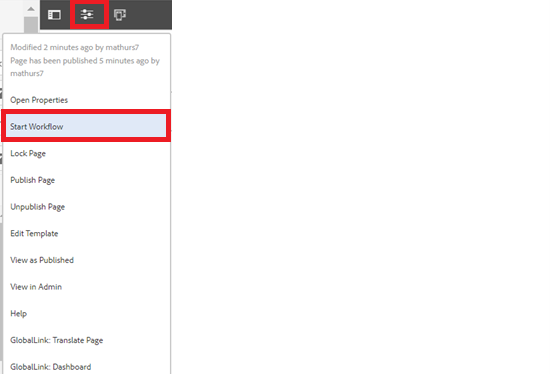
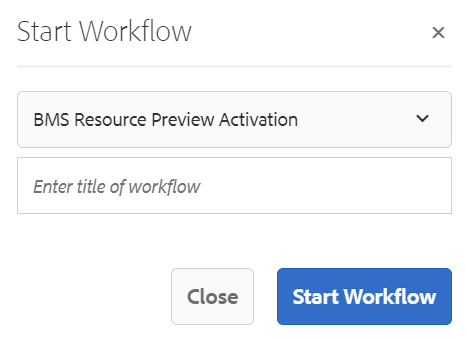
Step 5: After authoring all the fields, start workflow as shown below.
Desktop View:
Testimonial Component
Subtitle of the component.

This is created by using testimonial component.
Mobile View:
