
Steps to Author Feedback Form Container Component:
Step 1: Click on drag components here, and click on + icon to add the component on page.

Feedback Form Container Component





Steps to Author Feedback Form Container Component:
Step 1: Click on drag components here, and click on + icon to add the component on page.

Step 2: Search and select feedback form container component from dropdown list and then drag and drop it onto the desired location on the page.

Step 3: Click on the highlighted icon to configure the component.

Step 4: Author the feedback form container component as shown below.


Authoring Fields
| Authoring Field | Description |
| Logo | Users can add logo from this field |
| Title | Title in the Feedback Form |
| Description | It is used to display the description |
| Heading | Heading in the Feedback Form |
| Action Type | It is a dropdown field with five values 1.Mail 2.Post form data 3.Store Content 4. Submit Order and 5. Update Order |
| 1 .Mail | It has two text field and two multifield |
| Subject | Subject line for the emails sent for each submitted form. |
| From | Email address that the message is considered to be sent from. |
| To | Email addresses where the messages will be sent. |
| CC | Email addresses where the messages will be sent as a copy. |
| 2.Post form data | It has two text fields |
| Endpoint | Endpoint URL of the RESTful service |
| Error Message | Error Message to display if form data couldn't post successfully to remote endpoint |
| 3.Store Content | It has one text field and one button |
| Content Path | Content repository path where submitted content is stored. |
| Thank You Page | It can be used to add thank you page |
| ID | Thank You Page |
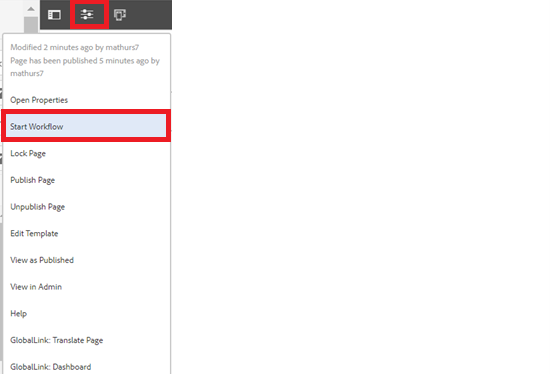
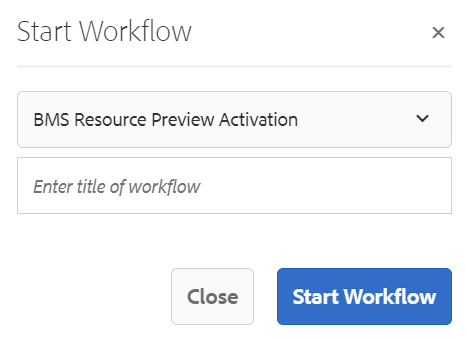
Step 5: After authoring all the fields, start workflow as shown below.
Example : Feedback Form Container Component
