
Step 1: Navigate to the page where you want to add the component. Click on "Drag components here" and click on + to add the component on page.
Table Component

Table Component





Step 1: Navigate to the page where you want to add the component. Click on "Drag components here" and click on + to add the component on page.

Step 2: Search and select table component from dropdown list and then drag and drop the component onto the desired location on the page.

Step 3: Once the component is added, you can configure it by selecting configure icon as showcased in below image.

Step 4: In the component configuration dialog, you can author table tab and settings tab.

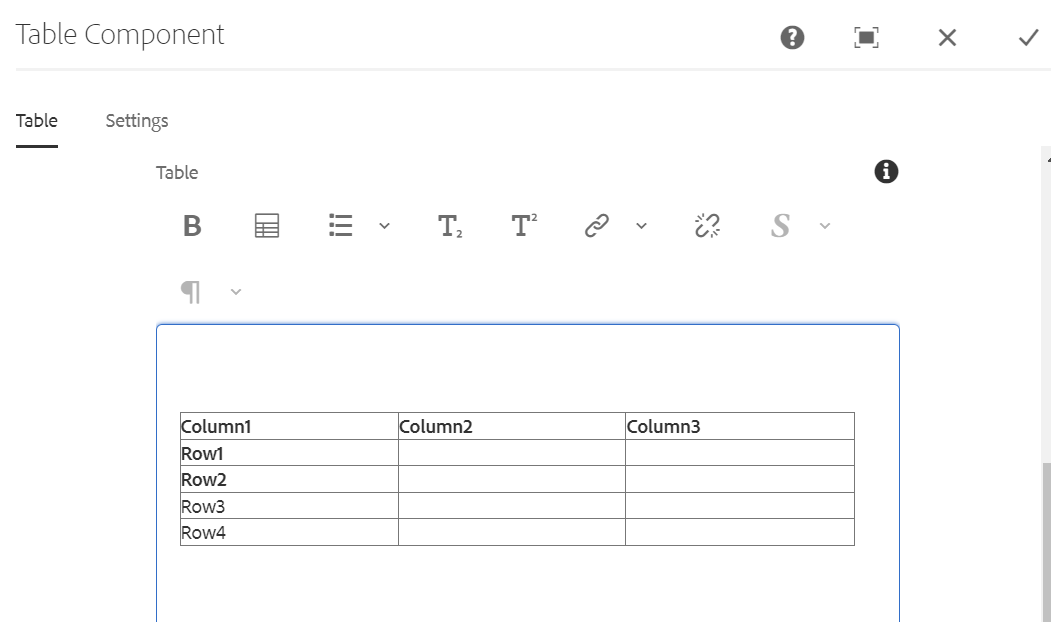
To create a table click on the highlighted icon as shown below:

Here you can author:

Then the table will appear like below with given height, width, number of columns, and rows.
You can enter values in table cells.
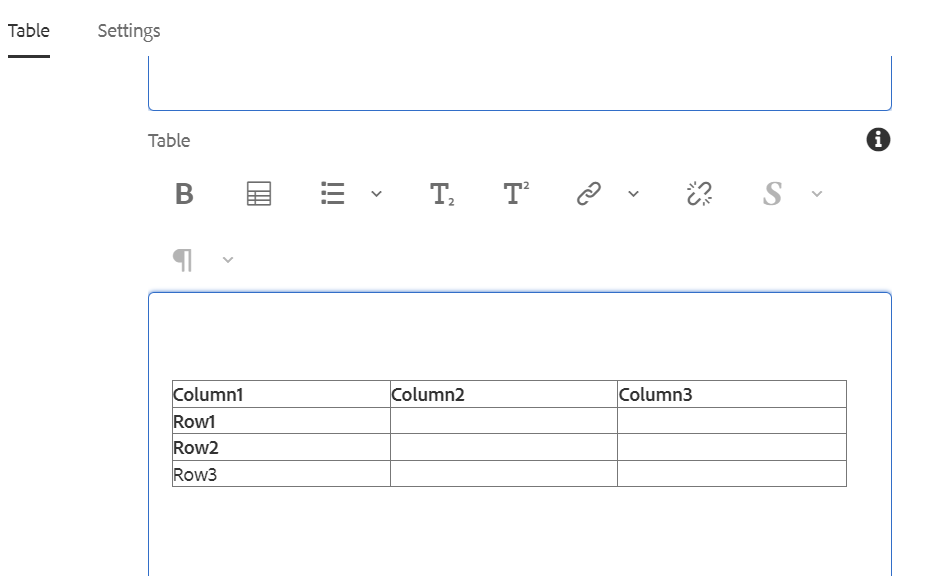
Note: If you click on table icon, the editor offers some additional options to edit your table.


Authoring Fields
| Field Name | Description |
| Table Tab | |
| Tiltle | This is a text authoring field to display the title (subscript, superscript, and styles [footnotes] options are supported) |
| Table | This is a text authoring field to author the text along with table creation option.
|
| Settings Tab | |
| Size | Table size can be selected from the dropdown as
|
| Styles | Table styles can be selected from the dropdown as
|
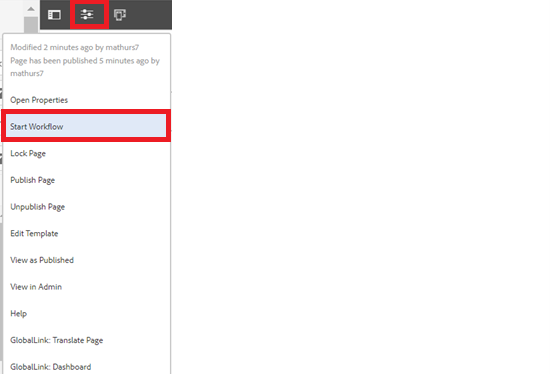
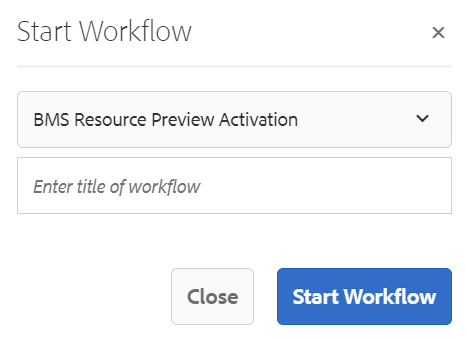
Step 5: After authoring all the fields, start workflow as shown below.
Desktop View:
Example: Table (Size: Large, Style: Lines)
| Company | Contact | Country |
|---|---|---|
| Alfreds Futterkiste | Maria Anders | Germany |
| Centro comercial Moctezuma | Francisco Chang | Mexico |
| Ernst Handel | Roland Mendel | Austria |
| Island Trading | Helen Bennett | UK |
| Laughing Bacchus Winecellars | Yoshi Tannamuri | Canada |
| Magazzini Alimentari Riuniti | Giovanni Rovelli | Italy |
Example: Table (Size: Normal, Style: Lines-Emphasized)
| Company | Contact | Country |
|---|---|---|
| Alfreds Futterkiste | Maria Anders | Germany |
| Centro comercial Moctezuma | Francisco Chang | Mexico |
| Ernst Handel | Roland Mendel | Austria |
| Island Trading | Helen Bennett | UK |
| Laughing Bacchus Winecellars | Yoshi Tannamuri | Canada |
| Magazzini Alimentari Riuniti | Giovanni Rovelli | Italy |
Example: Table (Size: Large, Style: Rows)
| Company | Contact | Country |
|---|---|---|
| Alfreds Futterkiste | Maria Anders | Germany |
| Centro comercial Moctezuma | Francisco Chang | Mexico |
| Island Trading | Helen Bennett | UK |
Example: Table (Size: Normal, Style: Rows-Emphasized)
| Company | Contact | Country |
|---|---|---|
| Alfreds Futterkiste | Maria Anders | Germany |
| Centro comercial Moctezuma | Francisco Chang | Mexico |
| Ernst Handel | Roland Mendel | Austria |
| Island Trading | Helen Bennett | UK |
| Laughing Bacchus Winecellars | Yoshi Tannamuri | Canada |
| Magazzini Alimentari Riuniti | Giovanni Rovelli | Italy |
Mobile View:
